1- By clicking on infopath Microsoft built in templates pop-up will appear
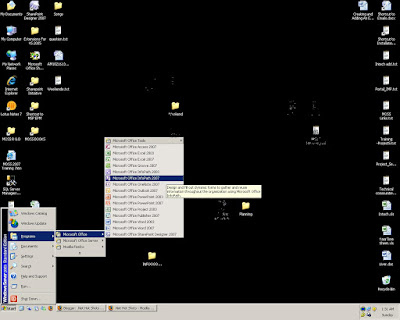
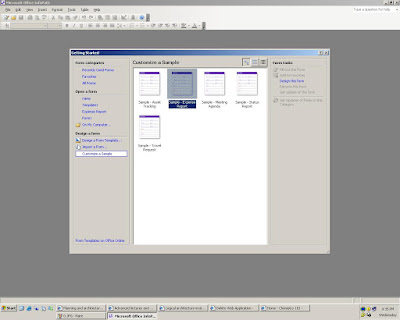
2- Click on sample template
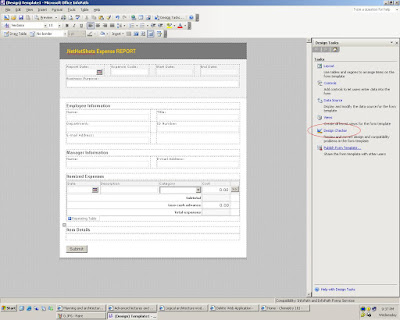
3- Click on Design Checker
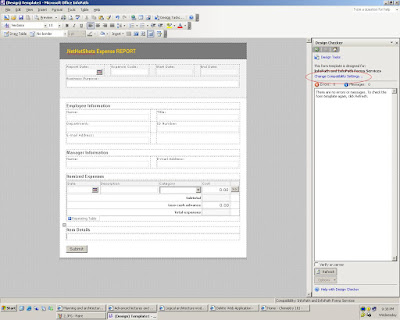
4- Click on
Change Compatibility Settings... for (Form to be open in browser)
5- Check the option and press
OK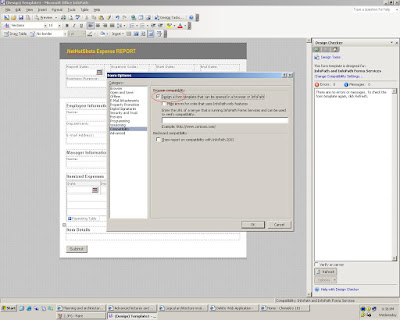
6- Click on
Design Tasks
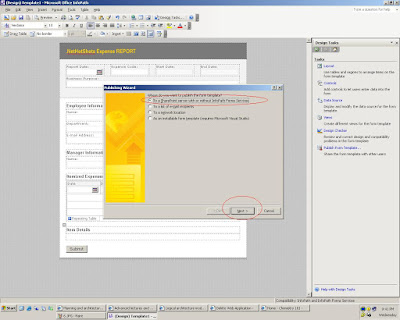
7- Click on
Publish Form Template...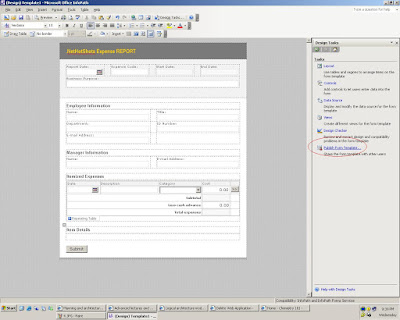
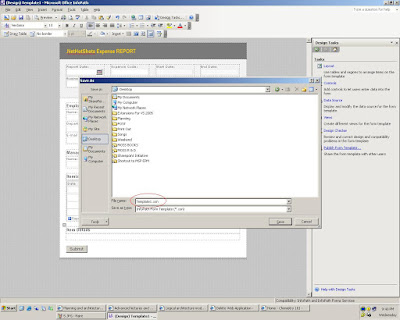
8- You must first save this template
9- Select first option to publish on sharepoint site
10- Select
Create a new doucment library and click Next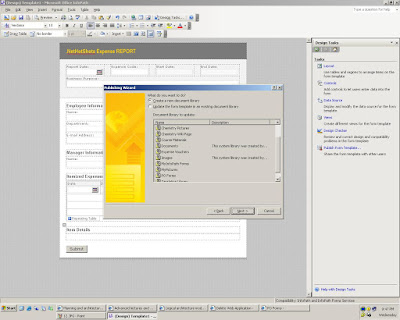
11- Enter library name as i mention
Expense Vouchers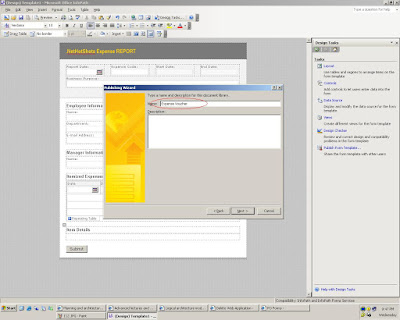
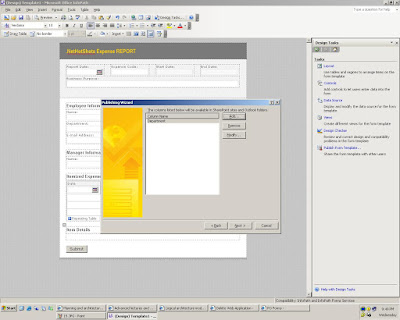
12- Click
Add buttion....if you want to show columns in library list
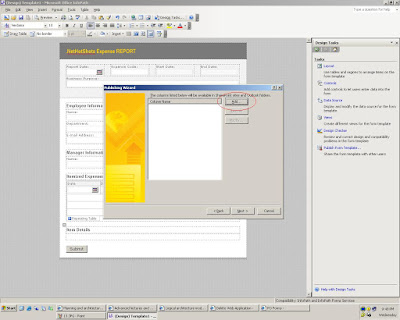
13- Select the field name which you want to show in your sharepoint list
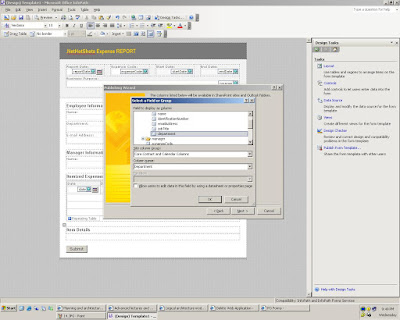
You can add more than one fileds here and have options to remove and modify these columns
14- Click
Publish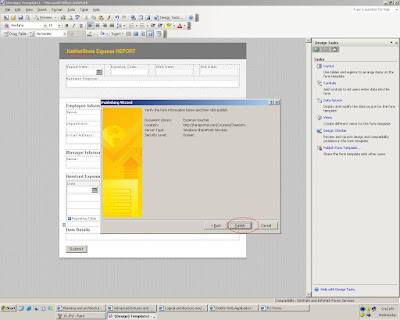
Now open you Portal and open library.....as i am going to open Expense Voucher (Which i create in step No.11
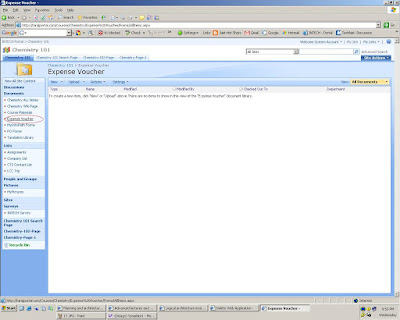
15- Click New to create a document

16- Click OK to open
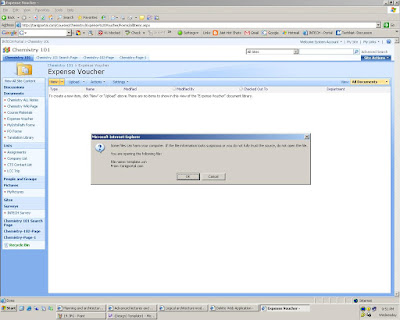
Now infopath form will appear in internet explorer
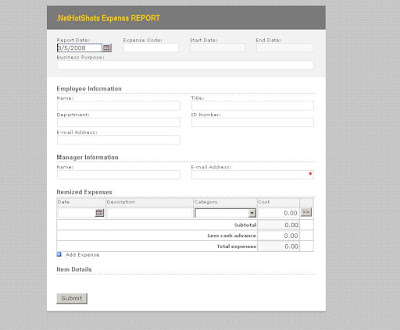
Fill form e.g
Name: Tariq Younas
Title: Software Engineer
Department: CTS Development
Email: tariq.younas@gmail.com etc.
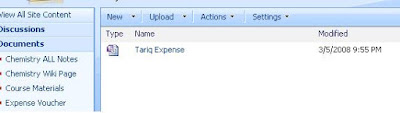
17- Click
submit to save

Finally...Every time you take new form will open in Office InfoPath and after submission you will found it in library.
Queries are welcomed.
Cheers.
Tariq Younas


